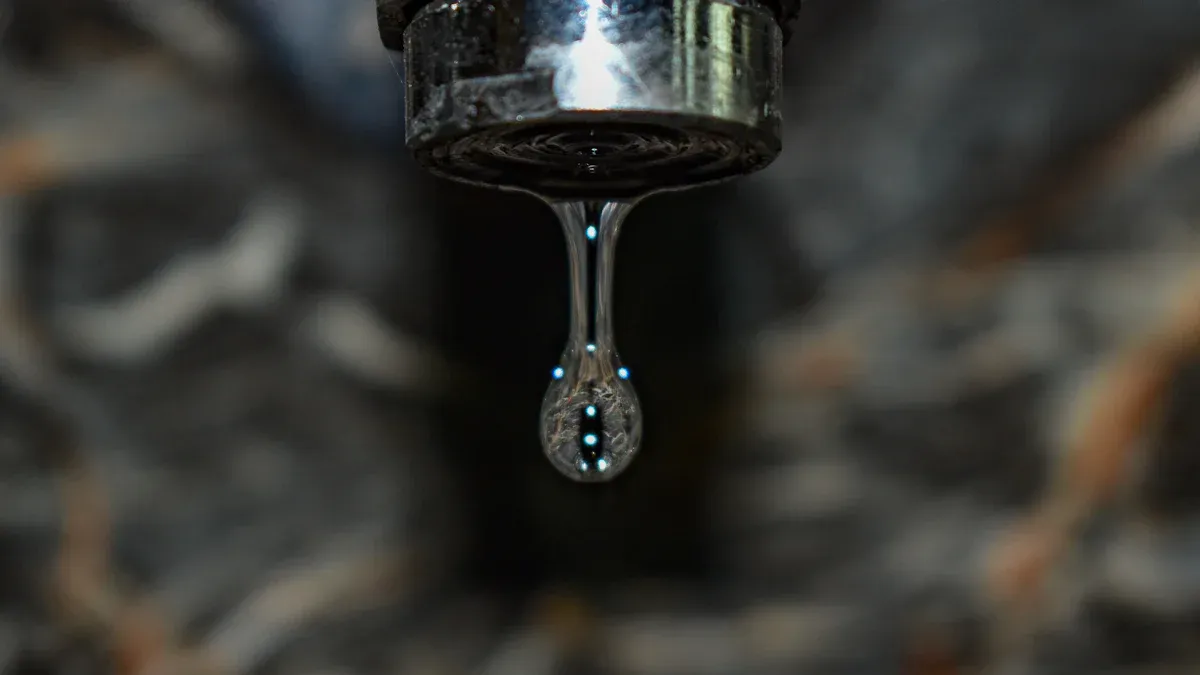
You know that annoying sound of a dripping faucet that just won’t quit? It can drive anyone crazy! Not only does it disturb your peace, but it also wastes over 3,000 gallons of water a year, costing you about $72 on your water bill. Fixing a leaky faucet helps you save money and protect the environment. Ready to tackle the problem? Here are the main steps to get it done!
Key Takeaways
Fixing a leaky faucet can save you over 3,000 gallons of water a year and reduce your water bill by about $72.
Identify your faucet type-compression, cartridge, ball, or ceramic disc-to choose the right repair steps and parts.
Regular maintenance, such as checking water pressure and using quality parts, can prevent future leaks and extend the life of your faucet.
Types of Faucets
When it comes to fixing a leaky faucet, knowing the type you have is crucial. Each faucet operates differently, and understanding these differences can make your repair process smoother. Here are the four main types of faucets you might encounter:
Compression Faucets
Compression faucets are the oldest type, often found in older homes. They have two handles-one for hot water and one for cold. You can identify them by their distinct mechanism: turning the handle compresses a rubber washer against a valve seat to stop the flow of water. If you notice a leak, it’s often due to a worn washer or a corroded valve seat.
Cartridge Faucets
Cartridge faucets look similar to compression faucets but work differently. They have a single handle that controls both the flow and temperature of the water. Inside, a cartridge moves up and down to allow water to flow. If your cartridge faucet is leaking, it might need a new cartridge, which is usually easy to replace.
Ball Faucets
Ball faucets are commonly found in kitchens and bathrooms. They feature a single handle over a rounded ball-shaped cap. This design allows for smooth control of water flow and temperature. If you experience leaks, it could be due to worn seals or O-rings inside the ball mechanism.
Ceramic Disc Faucets
Ceramic disc faucets have a single lever over a wide cylindrical body. They are known for their durability and smooth operation. If you notice a leak, it’s often due to worn seals. These faucets are great for those who may have grip issues, as they require less effort to operate.
Faucet Type | Best For | Description |
|---|---|---|
Ball Faucet | Kitchens and bathrooms | Identifiable by a single handle over a rounded ball-shaped cap, controls flow and temperature. |
Disc (or Disk) Faucet | Kitchens and bathrooms | Features a single lever over a wide cylindrical body, ideal for those with grip issues. |
Cartridge Faucet | Kitchens and bathrooms | Smooth action, looks similar to compression faucets but operates differently. |
Compression Washer Faucet | Utility sinks, usually in older homes | The oldest type, often found in older homes, prone to leaks and requires more maintenance. |
Recognizing the type of faucet you have is essential because it determines the specific repair steps you need to take. Common causes of leaky faucets include worn washers, corrosion, sediment buildup, and damaged O-rings. Identifying the faucet type helps in diagnosing these issues accurately, leading to more effective repairs.
Tools for Fixing a Leaky Faucet
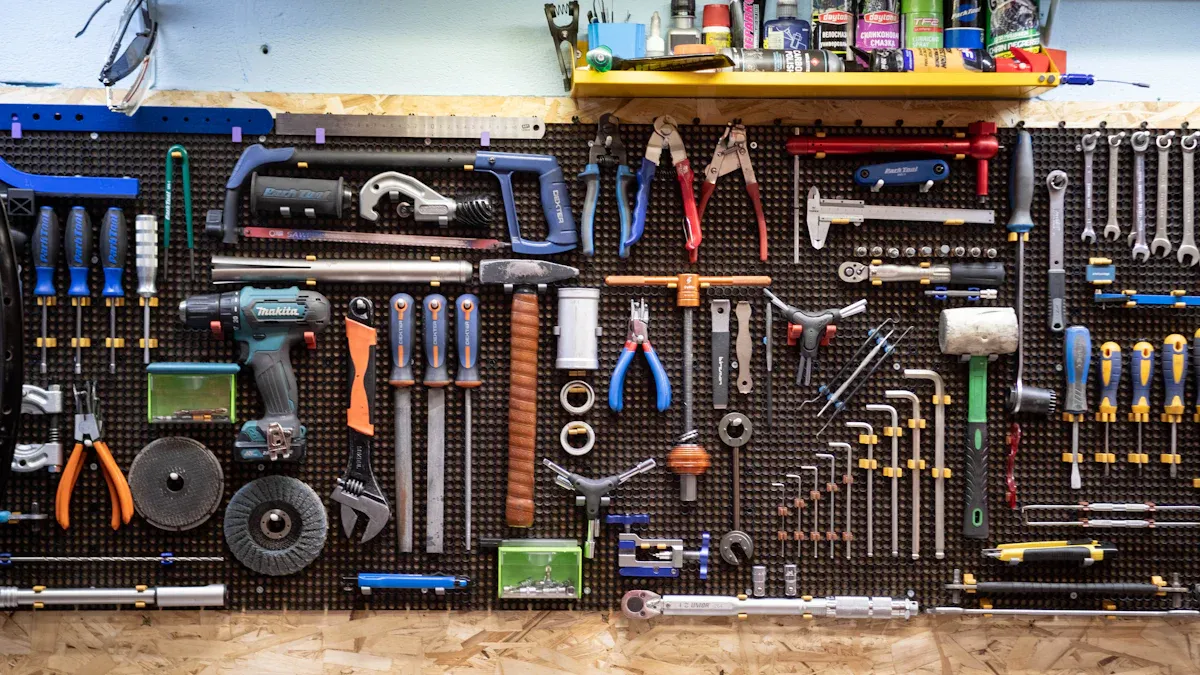
When you’re ready to fix that leaky faucet, having the right tools makes all the difference. Here’s what you’ll need:
Essential Tools
Gather these essential tools before you start your repair:
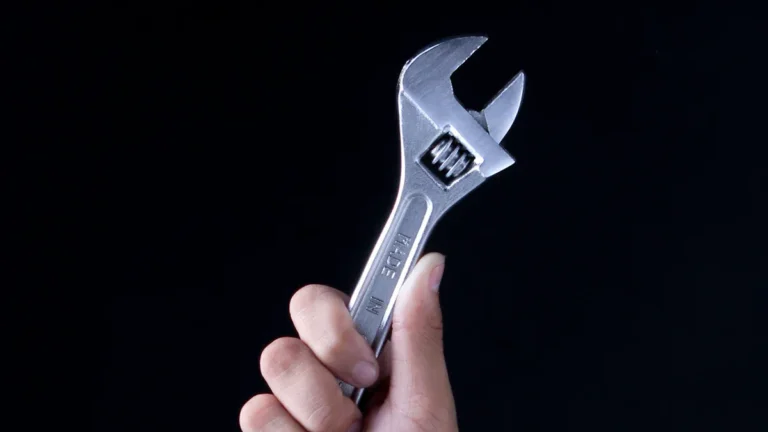
Adjustable wrench: Perfect for loosening and tightening nuts.
Phillips and flathead screwdrivers: You’ll need both types for different screws.
Pliers: Handy for gripping and twisting.
Hex wrench: Useful for certain faucet types.
Faucet repair kit: This often includes various washers and O-rings.
O-ring pick: Helps remove old O-rings without damaging the faucet.
Clean rags: Keep things tidy and dry.
Bucket or towel: Catch any water that spills during the repair.
Having these tools on hand will help you tackle the job efficiently.
Replacement Parts
You might need some replacement parts to fix your faucet properly. Common items include:
O-rings: These seals can wear out and cause leaks.
Washers: A worn washer is a frequent culprit behind drips.
Cartridge: If you have a cartridge faucet, you may need to replace the cartridge itself.
Safety Gear
Don’t forget about safety! Here are some items to consider:
Safety glasses or goggles: Protect your eyes from debris and chemicals.
Heat-resistant gloves: Keep your hands safe when handling hot materials.
Knee pads: Comfort is key when you’re working on the floor.
Headlamp: This provides hands-free lighting in dark spaces.
Respirator mask: Filters out harmful particles and fumes.
Using the right tools and safety gear not only makes the repair easier but also keeps you safe. So, gear up and get ready to fix that faucet!
Fixing a Leaky Kitchen Faucet: Step-by-Step
Fixing a leaky kitchen faucet can seem daunting, but with a little patience and the right approach, you can do it yourself! Let’s break down the process into manageable steps.
Turn Off the Water Supply
Before you start any repair, the first step is to turn off the water supply. This is crucial because it prevents water from gushing out while you work. Look for the shut-off valves under your sink. Turn them clockwise to close them. If you can’t find them, you may need to turn off the main water supply for your home.
Tip: Always double-check that the water is off by turning on the faucet. If no water flows, you’re ready to proceed!
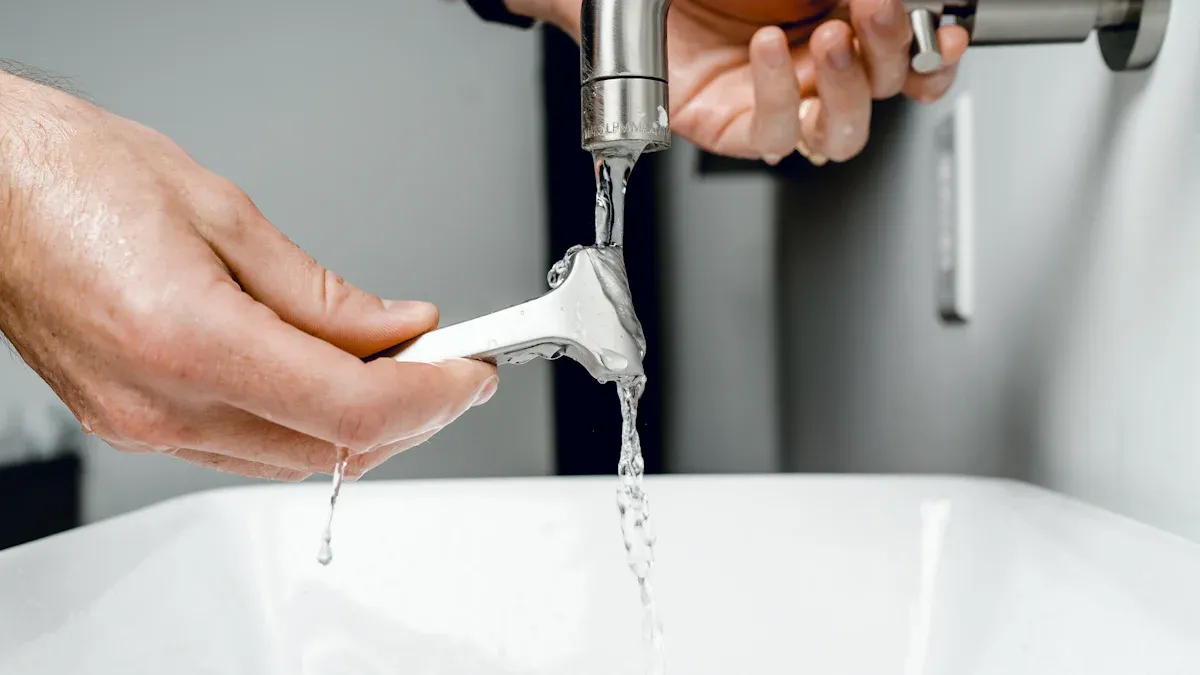
Remove the Faucet Handle
Next, you’ll need to remove the faucet handle. Depending on your faucet type, this may involve unscrewing a decorative cap or using a screwdriver to take off the handle. Here’s how to do it:
Check for hidden screws: Look under any decorative caps for screws.
Unscrew the handle: Use the appropriate screwdriver to remove the screws.
Lift off the handle: Gently pull the handle straight up to avoid damaging any components.
Inspect and Replace Parts
Now it’s time to inspect the internal parts of your faucet. Look for signs of wear or damage. Common culprits for leaks include:
Damaged faucet cartridge: If this part fails, leaks are likely.
Damaged gasket: Worn rubber washers can lead to leaks.
Water pressure: High pressure can force water past seals.
O-ring failure: Deteriorated O-rings can cause leaks around the handle.
Damaged valve seat: A worn valve seat can prevent a proper seal.
Take a close look at the faucet to pinpoint where the leak is coming from. Is it dripping from the handle or pooling at the base? If you find worn washers or O-rings, you’ll want to replace them. Remember, a worn-out O-ring is often the cause of leaks at the handle of cartridge-type faucets.
Reassemble the Faucet
Once you’ve replaced any damaged parts, it’s time to put everything back together. Follow these steps to ensure proper reassembly:
Number all parts to keep track of them.
Insert the cartridge or valve stem back into the faucet body.
Place the handle back on and secure it with screws.
Reattach any decorative caps.
Make sure everything fits snugly but avoid over-tightening, as this can lead to cracks and further damage.
Test for Leaks
After reassembling, it’s essential to test for leaks. Here’s how to do it:
Turn on the hot and cold water supplies to the fixture.
Run both hot and cold water full force to clear the supply lines.
Check the faucet for any signs of leakage.
If you notice any leaks, revisit your work to check for loose connections or improperly installed parts.
Note: If no leaks appear, congratulations! You’ve successfully fixed your leaky kitchen faucet. However, keep an eye on it over the next few days to ensure the repair holds.
By following these steps, you can tackle fixing a leaky kitchen faucet with confidence. Remember, regular maintenance can help prevent future leaks, so keep an eye on your faucet’s performance!
Preventing Future Leaks
You’ve fixed your leaky faucet, but how do you keep it from happening again? Preventing future leaks is all about regular maintenance, using quality parts, and keeping an eye on your water pressure. Let’s dive into each of these areas to help you maintain a leak-free faucet.
Regular Maintenance
Regular maintenance is key to preventing leaks. Here are some effective practices you can adopt:
Check Your Water Pressure: High water pressure can stress faucet components, leading to leaks. Aim for a pressure between 40 and 80 PSI.
Evaluate Water Hardness: Hard water can cause mineral buildup, which leads to leaks. Consider installing a water softener to mitigate this issue.
Keep Your Faucet Dry: Wipe down the faucet after use to prevent corrosion from standing water.
Stop Water At The Source: If you detect a leak, turn off the water supply immediately to prevent further damage.
Regular inspections of your faucets are crucial. Even minor leaks can accumulate and result in significant water loss and increased bills over time. It’s generally advised to inspect your faucets at least once a year, especially if you live in an older home or use large amounts of water. By addressing minor issues before they escalate, you can ensure that your water infrastructure remains functional and efficient for a longer period.
Quality Parts
Using quality parts is essential for long-lasting repairs. When you replace components like washers or cartridges, opt for high-quality materials. Cheap parts may save you money upfront, but they often wear out quickly, leading to more leaks down the line.
Here’s a quick look at the average lifespan of common faucet components:
Cartridge Type | Average Lifespan |
|---|---|
Compression (rubber washer) | 1–3 years |
Economy ceramic cartridge | 3–5 years |
Standard residential ceramic | 5–10 years |
Premium brass ceramic | 10–20 years |
Investing in quality parts can save you time and money in the long run. You’ll find that well-made components function efficiently for years longer than anticipated.
Monitor Water Pressure
Monitoring your water pressure is another critical step in preventing leaks. High water pressure can accelerate the wear of seals and washers in faucets, leading to leaks. It can also increase stress on joints and connections, raising the risk of leaks. Here are some reasons to keep an eye on your water pressure:
High water pressure can lead to pipe bursts, causing significant water damage.
It can result in reduced water efficiency, leading to higher utility bills and environmental concerns.
If you notice that your water pressure is consistently high, consider installing a pressure regulator. This device can help maintain optimal pressure levels, protecting your plumbing system from unnecessary stress.
By following these preventive measures, you can significantly reduce the chances of future leaks. Regular maintenance, quality parts, and monitoring water pressure will keep your faucet in top shape for years to come!
Fixing a leaky faucet is straightforward! Just follow these key steps:
Turn off the water supply.
Remove the decorative handle hardware.
Remove the packing nut.
Replace the O-ring and washer.
Put everything back together.
You can save water and money by tackling this task yourself. Remember, regular maintenance helps prevent future leaks and keeps your faucet in top shape. So, roll up your sleeves and get started! 💧
FAQ
What causes a faucet to leak?
A faucet can leak due to worn washers, damaged O-rings, or corroded valve seats. Regular maintenance helps prevent these issues.
How can I tell if my faucet needs repair?
If you notice dripping water, pooling around the base, or hear constant dripping sounds, it’s time to check your faucet for repairs.
Can I fix a leaky faucet myself?
Yes! With the right tools and steps, you can easily fix a leaky faucet. Just follow the instructions outlined in this guide.